Christmas cookies… oh, the pressure! Sometime between Halloween and Thanksgiving the magazine racks at the grocery checkout become full of covers adorned with perfect looking and exquisitely decorated holiday cookies. Every year the holiday cookie bar (pardon the pun) seems to get higher. I learned long ago to resist the urge to flip through the pages. I know that I will see tiny paint brushes and edible beads as part of the supply list. Who wants a cookie too pretty to eat anyway?
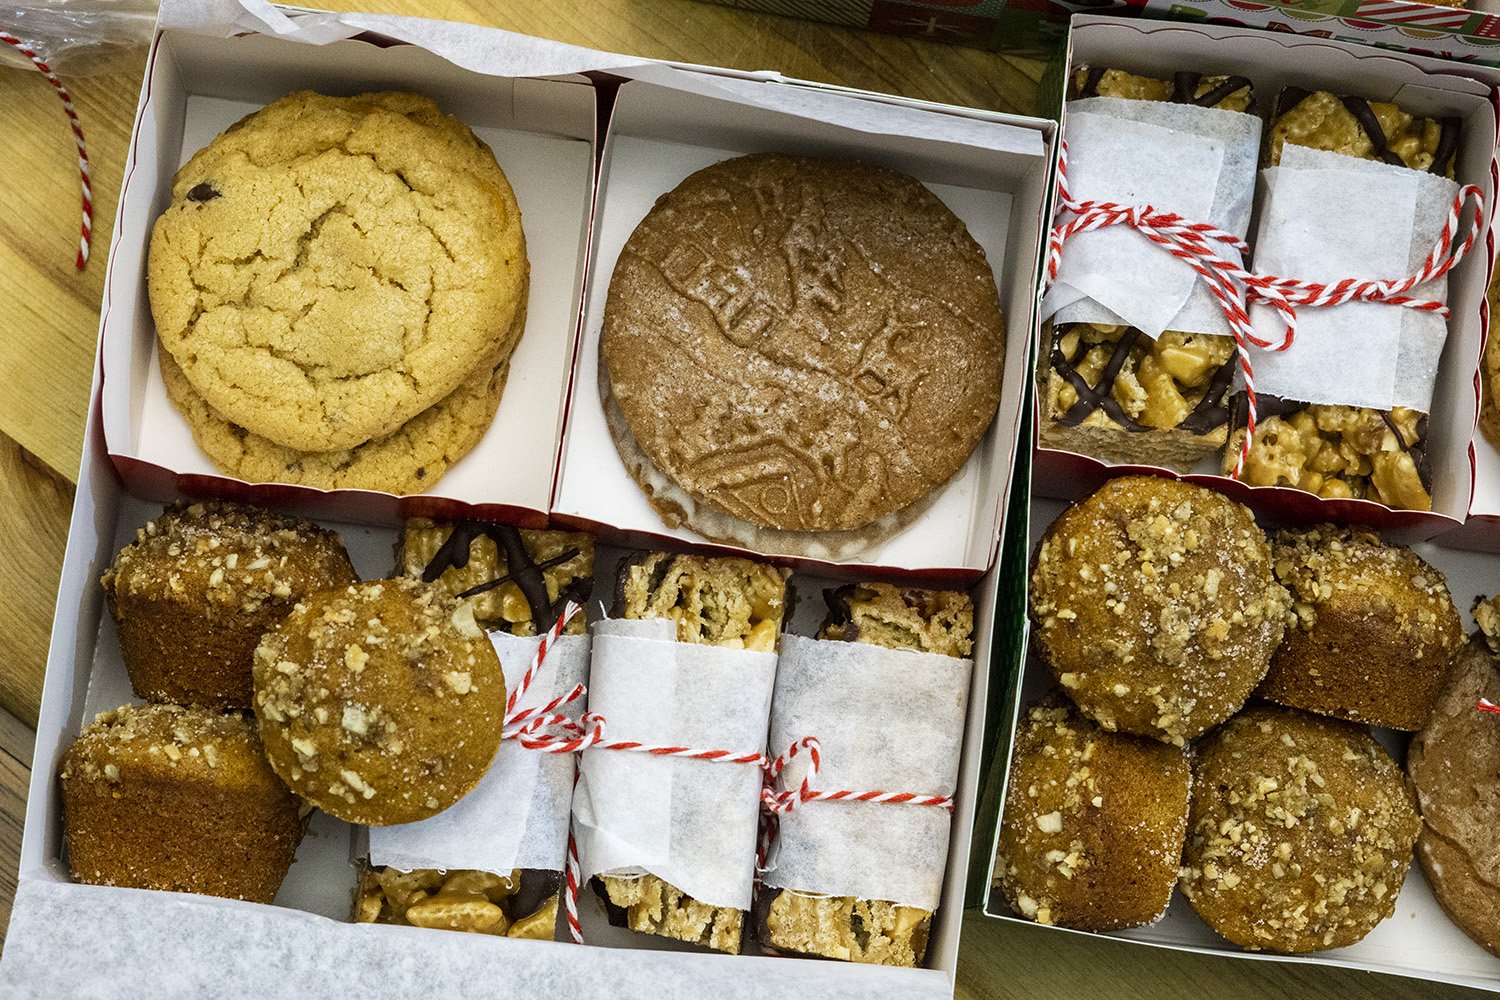
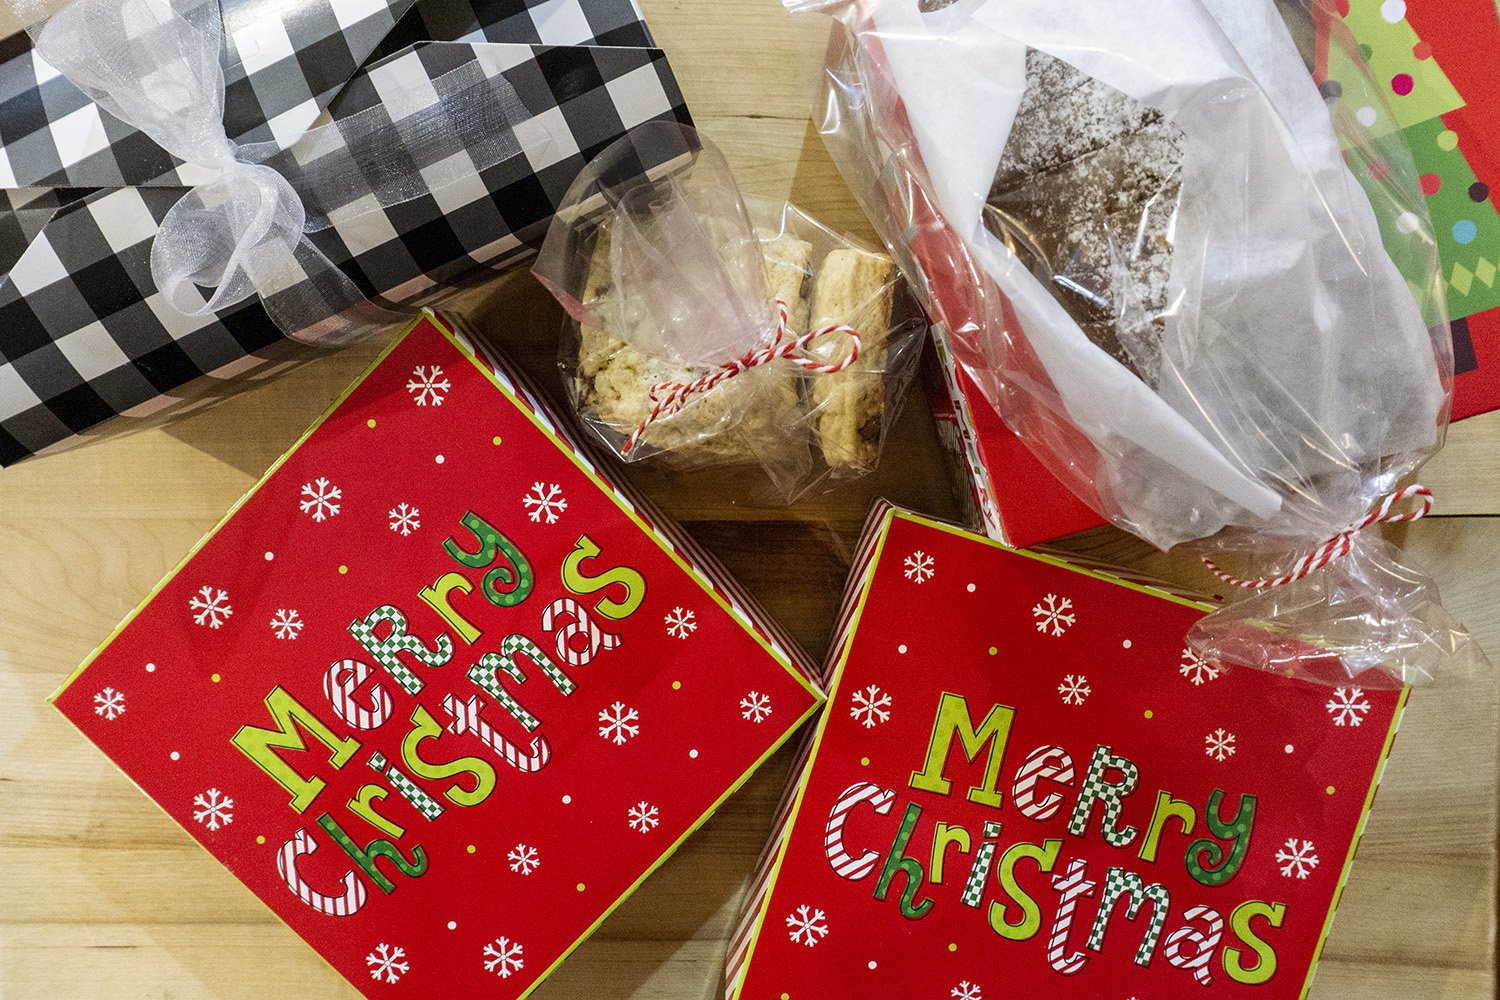
My philosophy - stick to the tried and true recipes, and focus on the presentation. Festive packaging has become easier to find in recent years in the holiday displays and baking sections of craft stores, grocery stores, and major department store chains.
I enjoy baking! I enjoy the science of it, the anticipation of waiting for the results, and then tasting the final outcome (especially when the final outcome is success). But the best part for me is packaging and sharing. A gift from the kitchen is a gift from the heart. Any gift made by hand comes with the message, “I made this for you.”
When deciding what to bake I think about size, flavor, and storage requirements.
Size: There is no shortage of holiday treats in December and I want to taste them all. Limiting the size to a couple of bites allows me to try several at a time without an overwhelming sense of guilt. (I assume the recipients feel the same.)
Flavor: I try to vary the flavor so that not everything has cinnamon, or peanut butter, or chocolate. I also avoid strong flavors that will permeate the entire collection. If I do bake something with mint I package them separately.
Storage: Iced cookies tend to stick to each other and I want the package to look just as good when they open it. I also don’t want to worry that something may have melted or didn’t get chilled as it should. I stick to cookies and pastries that are stored at room temperature.
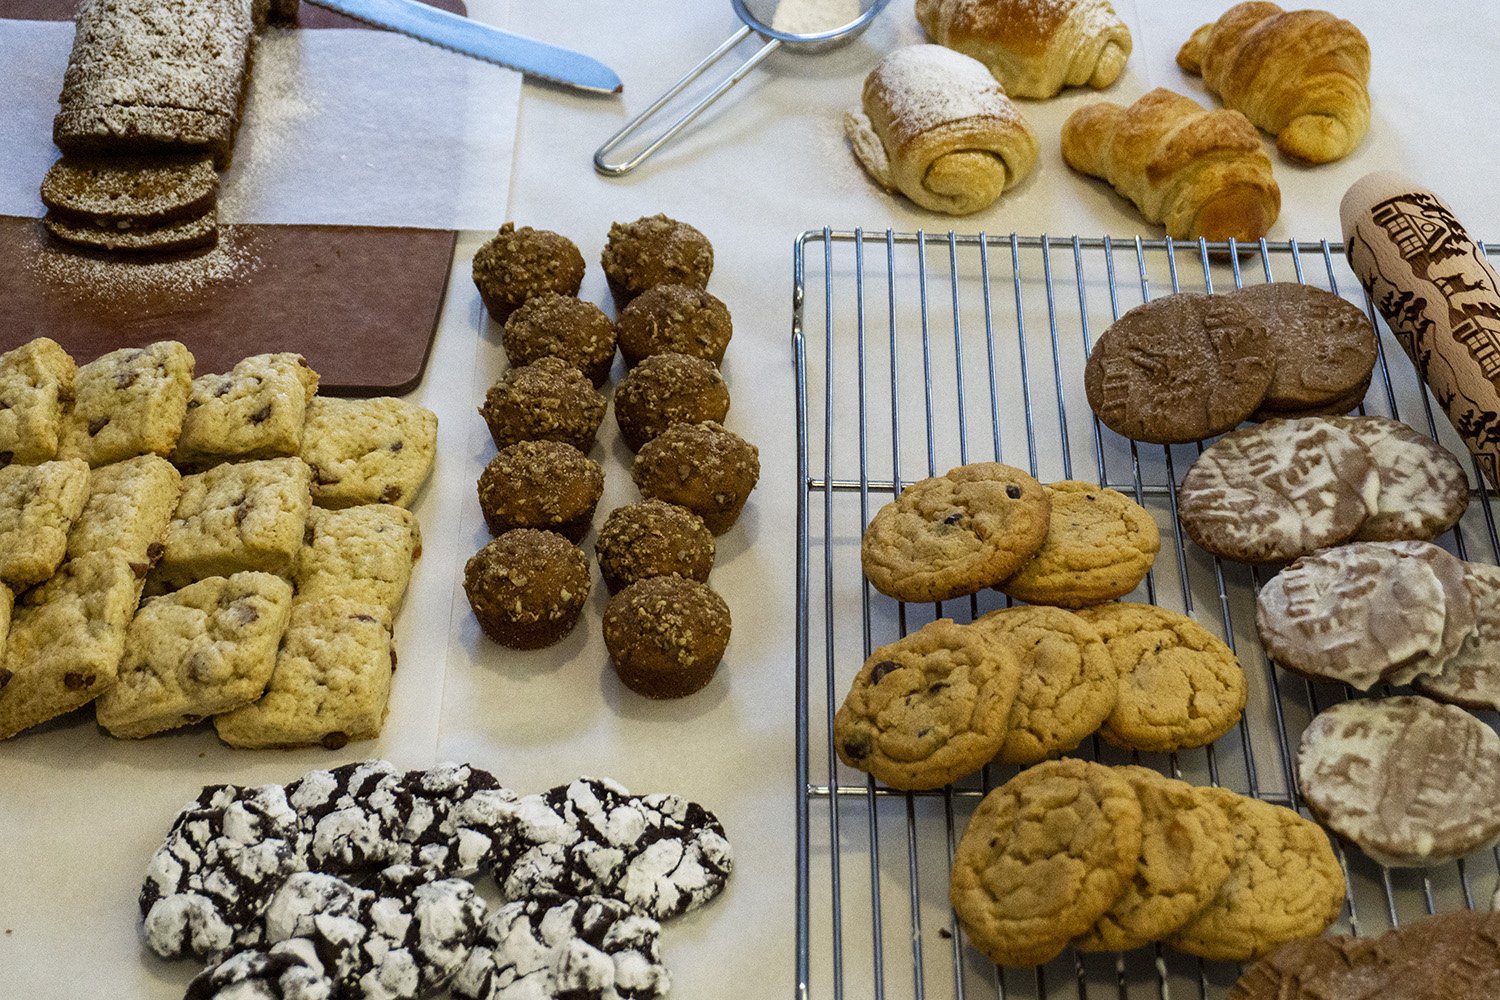
This year our baking included
Pumpkin Bread & Mini Muffins
Cinnamon Chip Scones
Peanut Butter with Butterscotch & Chocolate Chips
Embossed Gingerbread
Chocolate Crinkles
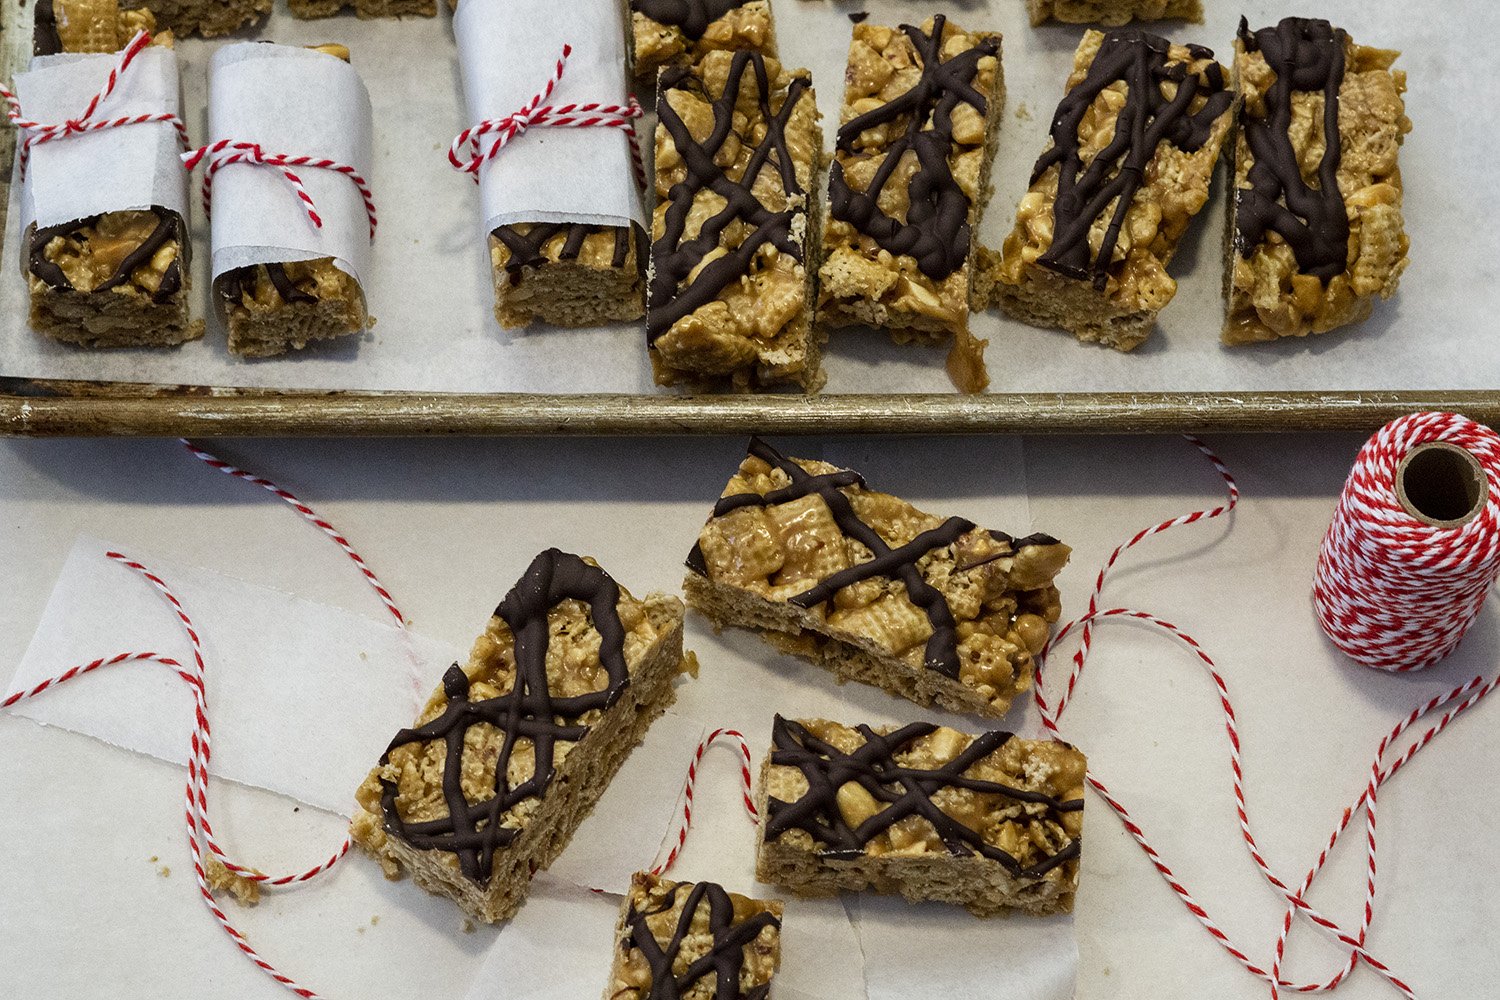
Chex Bars
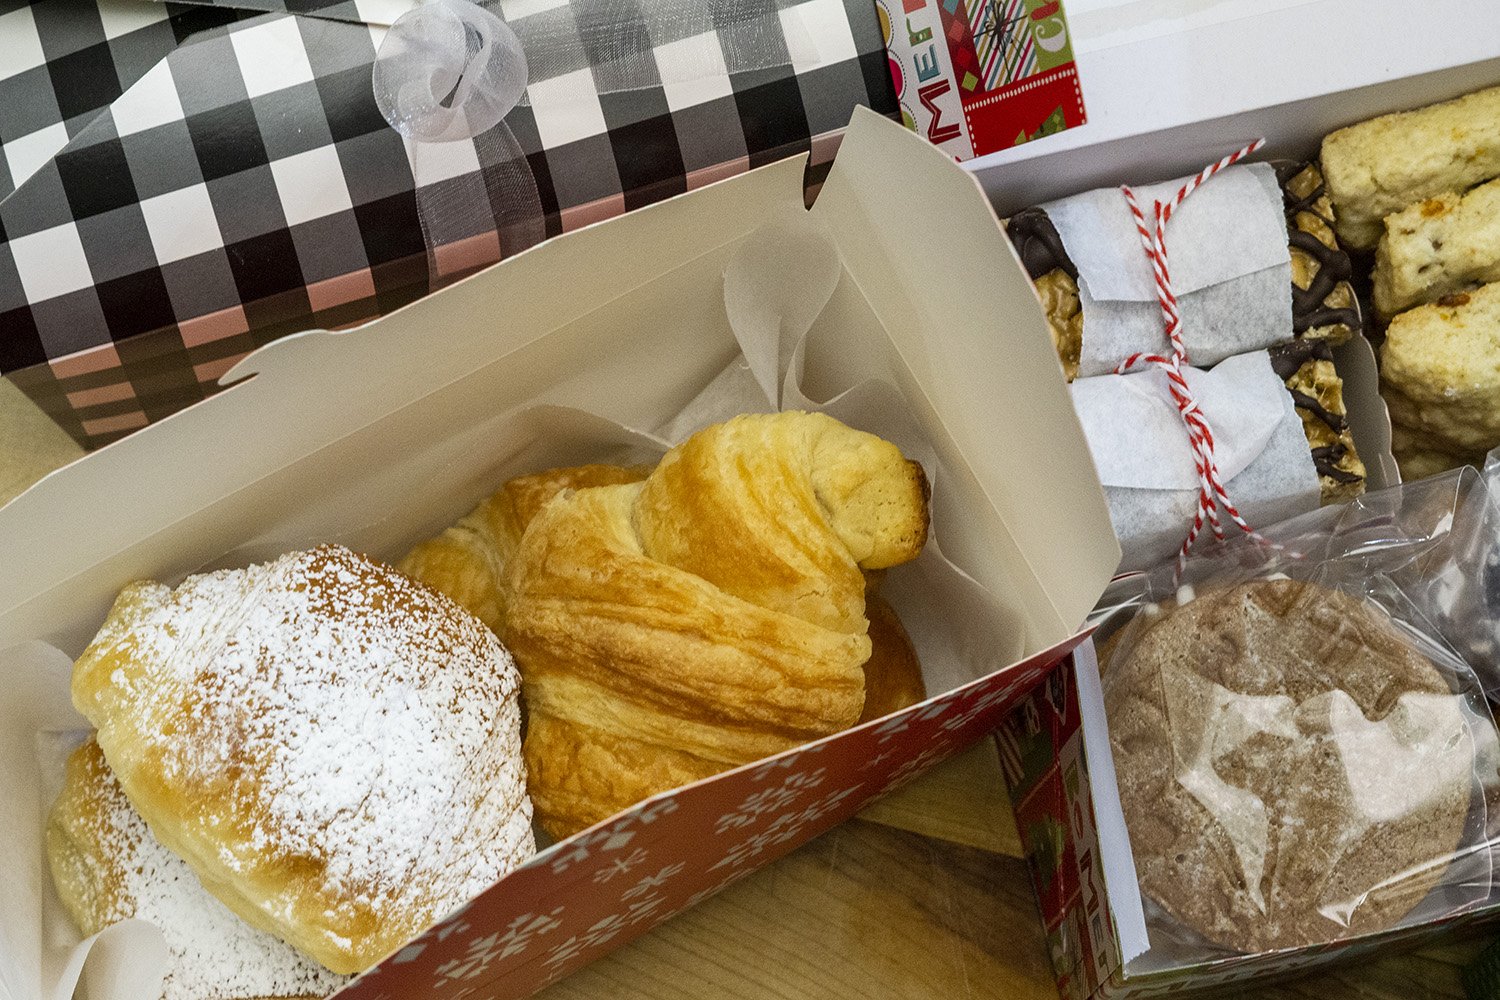
Croissants
Including breakfast pastries is a nice break from the sweet cookies. I usually slice quick bread when giving it away so it is ready to grab and enjoy. Then I slide a piece of parchment underneath (cut to a width the size of the loaf, and just long enough to barely wrap around), lift it up and slide it into a bag.
When the bag is opened the bread is ready to enjoy! I love this pumpkin bread recipe and was thrilled with the mini muffins sprinkled with candied pumpkin seeds. No mixer required!
This year I used an assortment of boxes (some had separate smaller compartments inside), parchment paper cut to various sizes, plastic treat bags, bakers string, and ribbon.
This was our first time using an embossed roller. The biggest takeaway is that you cannot let up on the pressure when rolling. Once you have your dough rolled out with a regular rolling pin (thicker than usual), then you roll over it again with the embossed roller. I found that rolling towards me it was easier to keep the pressure on.
We experimented with different ways to finish. I do like the effect of the glaze but found myself thinking that it would look really cool if I use a smaller brush to apply the glaze, maybe just between the ridges. Ugh! Okay, maybe a brush or two, but no edible beads.
Secret Ingredient: Love
We are a family of gingerbread lovers and I was the lucky recipient of gingerbread cutouts from my daughter. The flavor had more intensity than mine, but now overpowering. I began asking what hers had that mine didn’t… pepper?… cardamom? After comparing and seeing very similar recipes with the same spices she reminded me of her secret ingredient: love!


