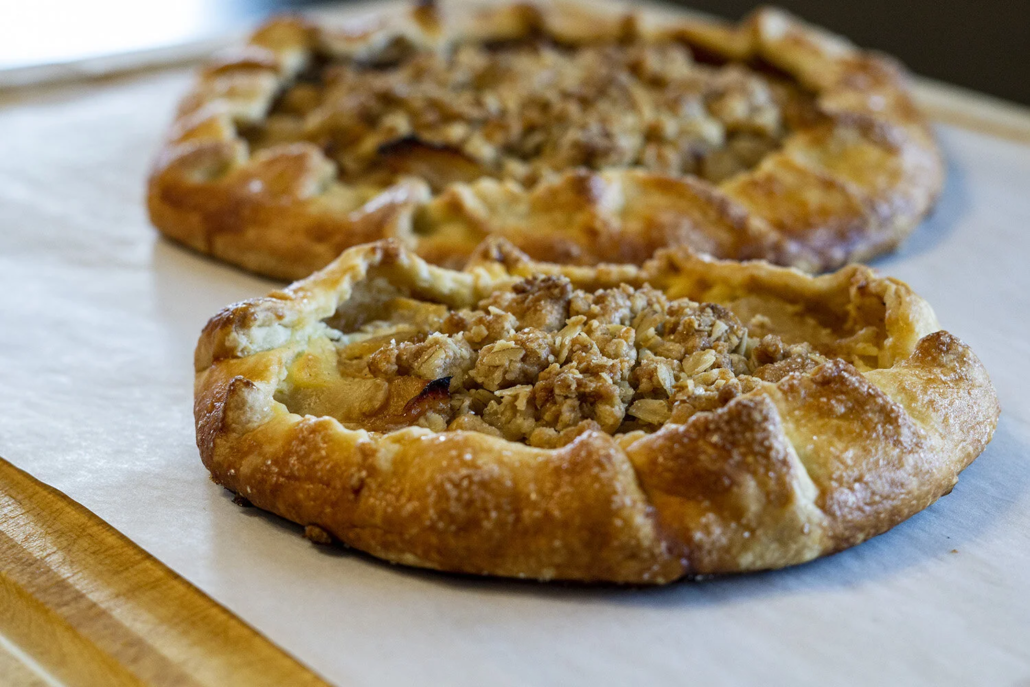
Apple Galette
Apples and spice make everything nice! Even when the weather in October looks like this!


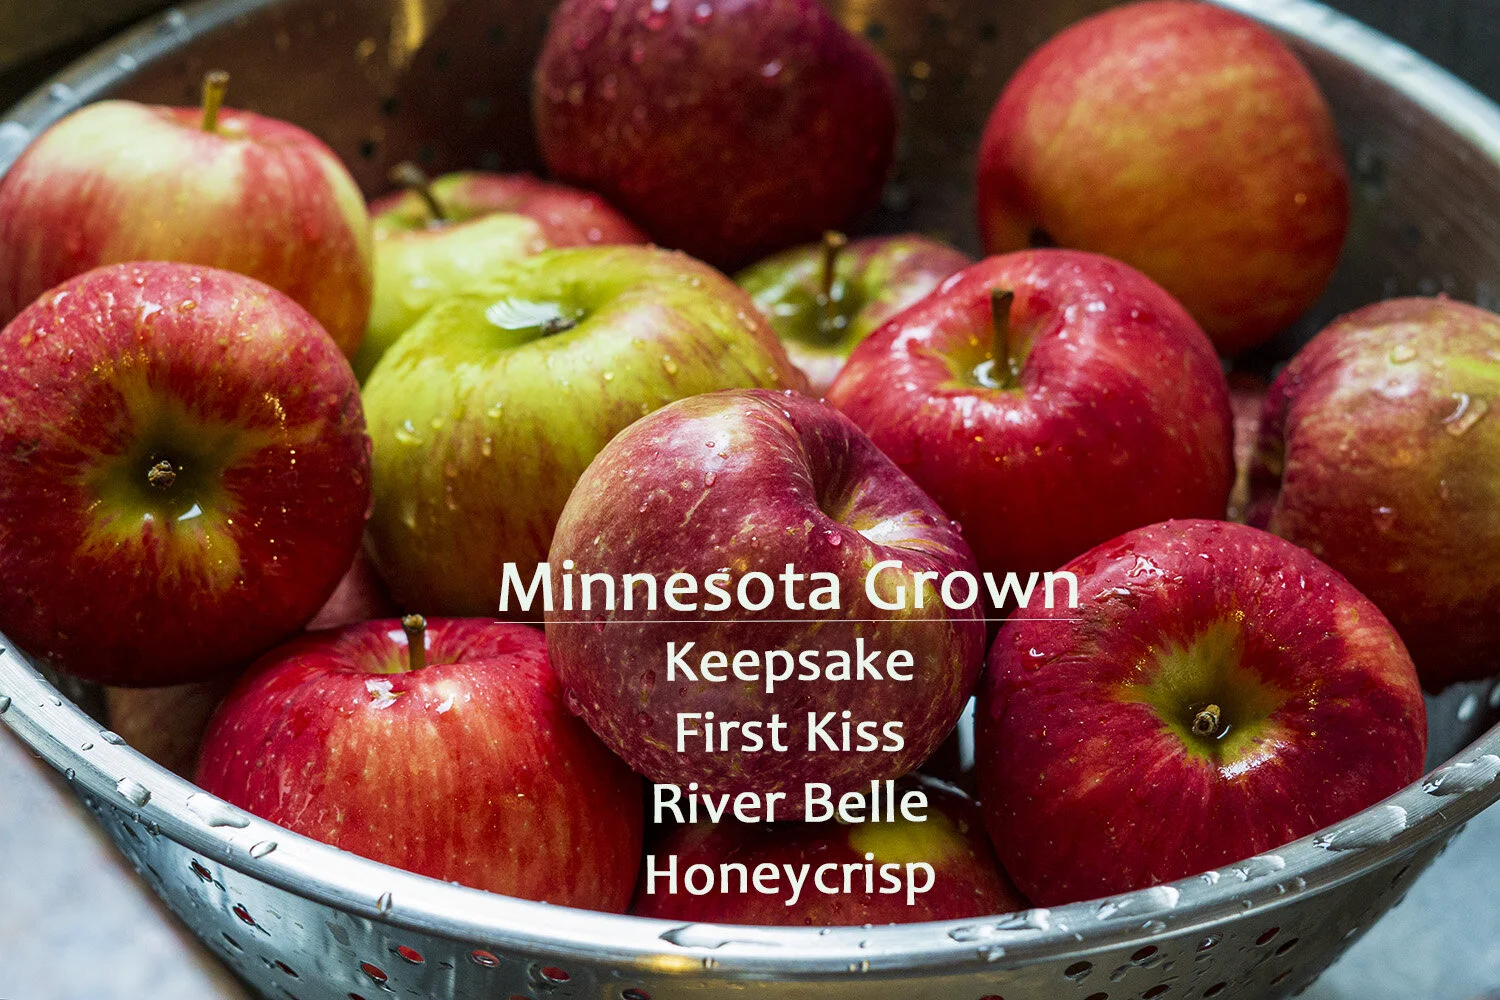
Because apples cook differently, I like to use a variety. Choose a tart and sweet combination, and include some that will maintain some crunch during cooking. During apple season I visit orchards and use locally grown apples. If I’m purchasing from the store I use Granny Smith for a firmer, tart apple, along with a sweeter variety like Honeycrisp or Pink Lady. The four varieties below were used in the Galette. My favorite is the Keepsake.
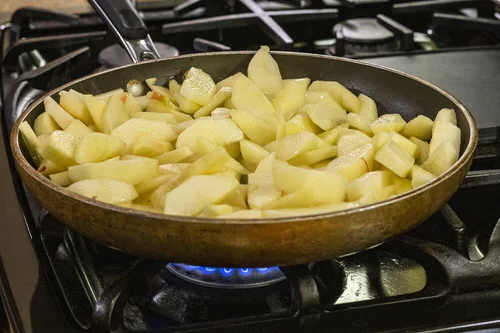
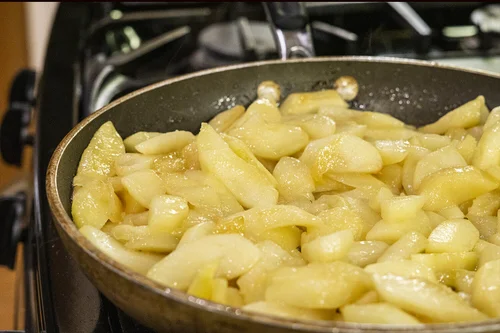
The Galette is free form and flat so it bakes faster than a traditional pie. For this reason I saute the apples so they are already tender. Sauteing also brings out the juices and natural sweetness of the apples. Adding a bit of caramel sauce creates browning and caramelization. You can pour off excess juice before adding the caramel so the apples maintain some texture. The photo on the left is the start of sauteing. On the right the apples are about finished – they still have shape and texture, but they are tender (not mushy) and golden brown on the edges.
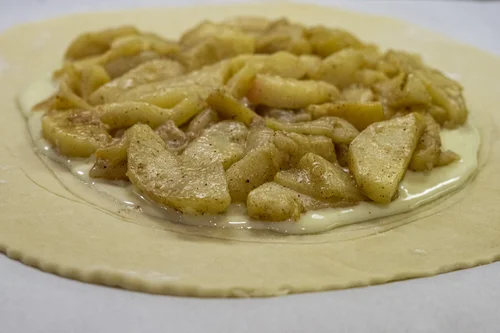
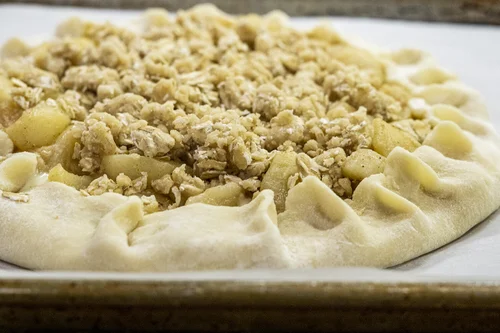
Remove the cooked apples from the heat and stir in some cinnamon and spice. Roll the dough to 11” circles and trim the edges so they are even. This recipe makes two 10” galettes. Transfer the rolled circles to a lined sheet pan before adding the filling. Once the apples are cool, leaving a 1” edge, layer the dough with the cream cheese filling and the apples. Fold up the edge and top with the streusel. I brush the edge with egg wash and sprinkle with sugar to create a nice golden brown color.
This is a great recipe to stage. There are four steps: pastry dough, cream cheese filling, apples, and streusel, and all can be prepared ahead of assembling and baking. Once baked the galette will keep chilled for several days. We place cut slices in a pie pan and warm in a low heat oven until hot. Drizzle with warm sauce and enjoy the comfort of apples!

Keep reading after the recipe for the senior living version – Apple Pie Squares.
Apple Galette
| INGRIDIENTS | STEPS |
|
Cream cheese filling:
Pastry:
Streusel topping:
Apples:
|
|
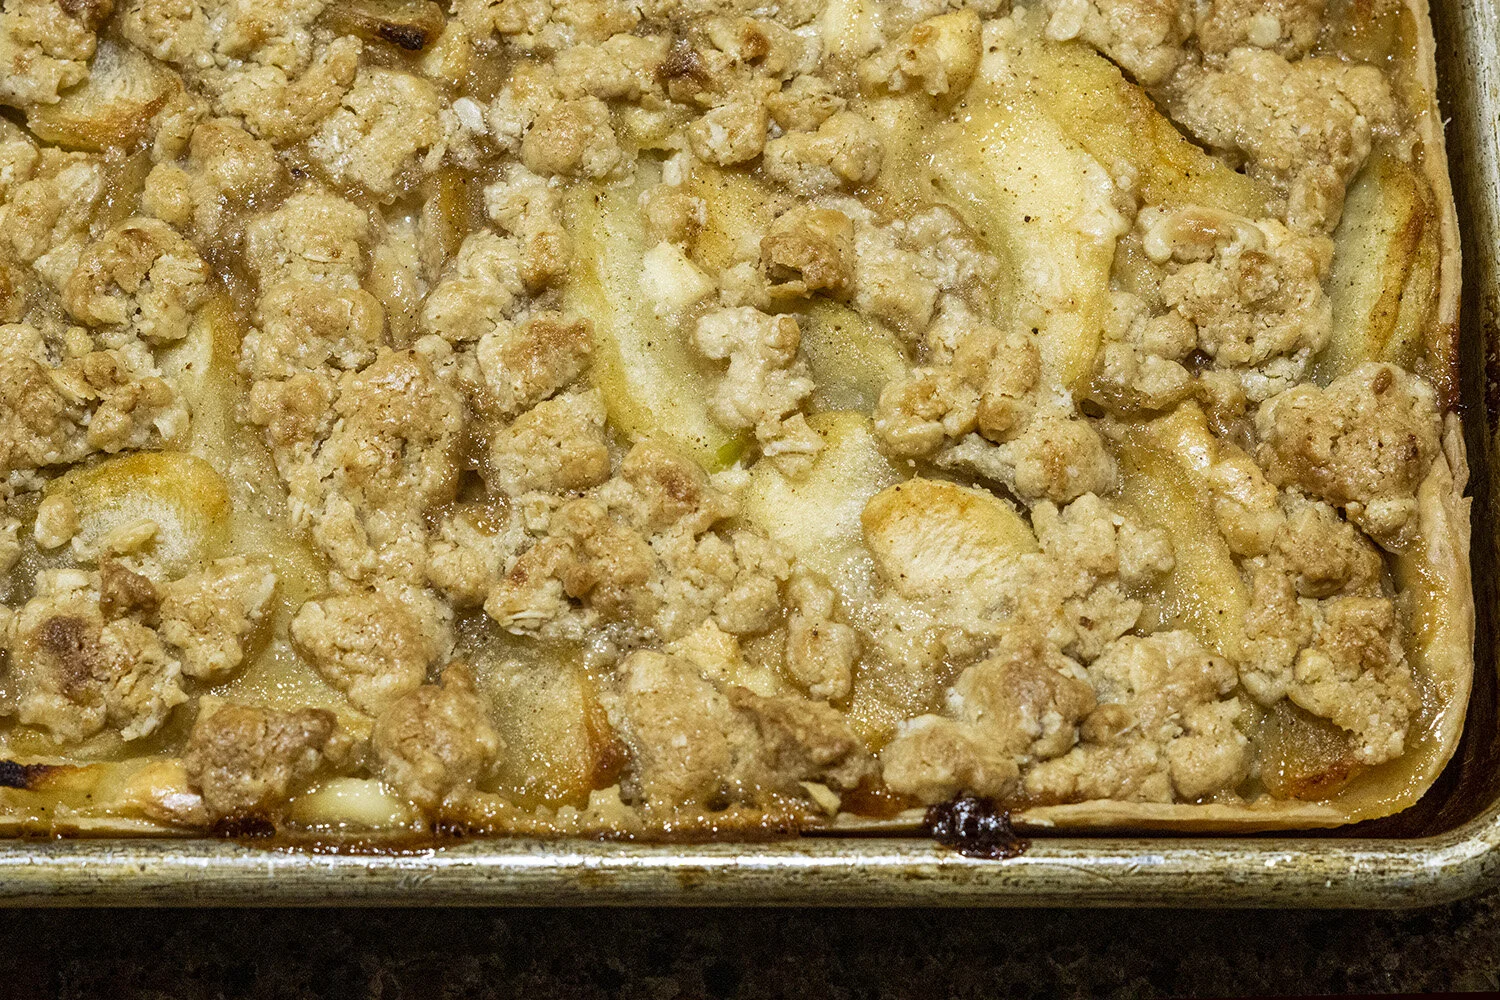
Patrick and I created this “speed scratch” version of the galette. Using frozen pastry sheets, frozen apples, and the cinnamon streusel blend from coffee cake mix (because there is always extra!) you can create a fresh baked bar that tastes like apple pie. This too is a great recipe for staging.
Two days before serving: Make the cream cheese filling, the streusel topping, and chill overnight. Thaw the pastry sheets and apples overnight in the cooler. We love the Simplot RoastWorks Flame-Roasted Fuji Apples for this recipe. Plain frozen sliced apples work well too but need a little sugar and cinnamon.
One day before serving:
Assemble the bars by layering pastry sheets, cream cheese filling, apples, caramel, and streusel topping.
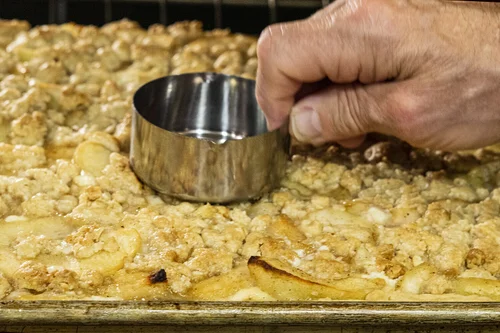
Bake until golden and set in the center. Toward the end of baking, press streusel down into the apple filling to level the top (pictured above). Chill overnight.
 Day of service:
Cut the bars and allow to come to room temperature before serving.
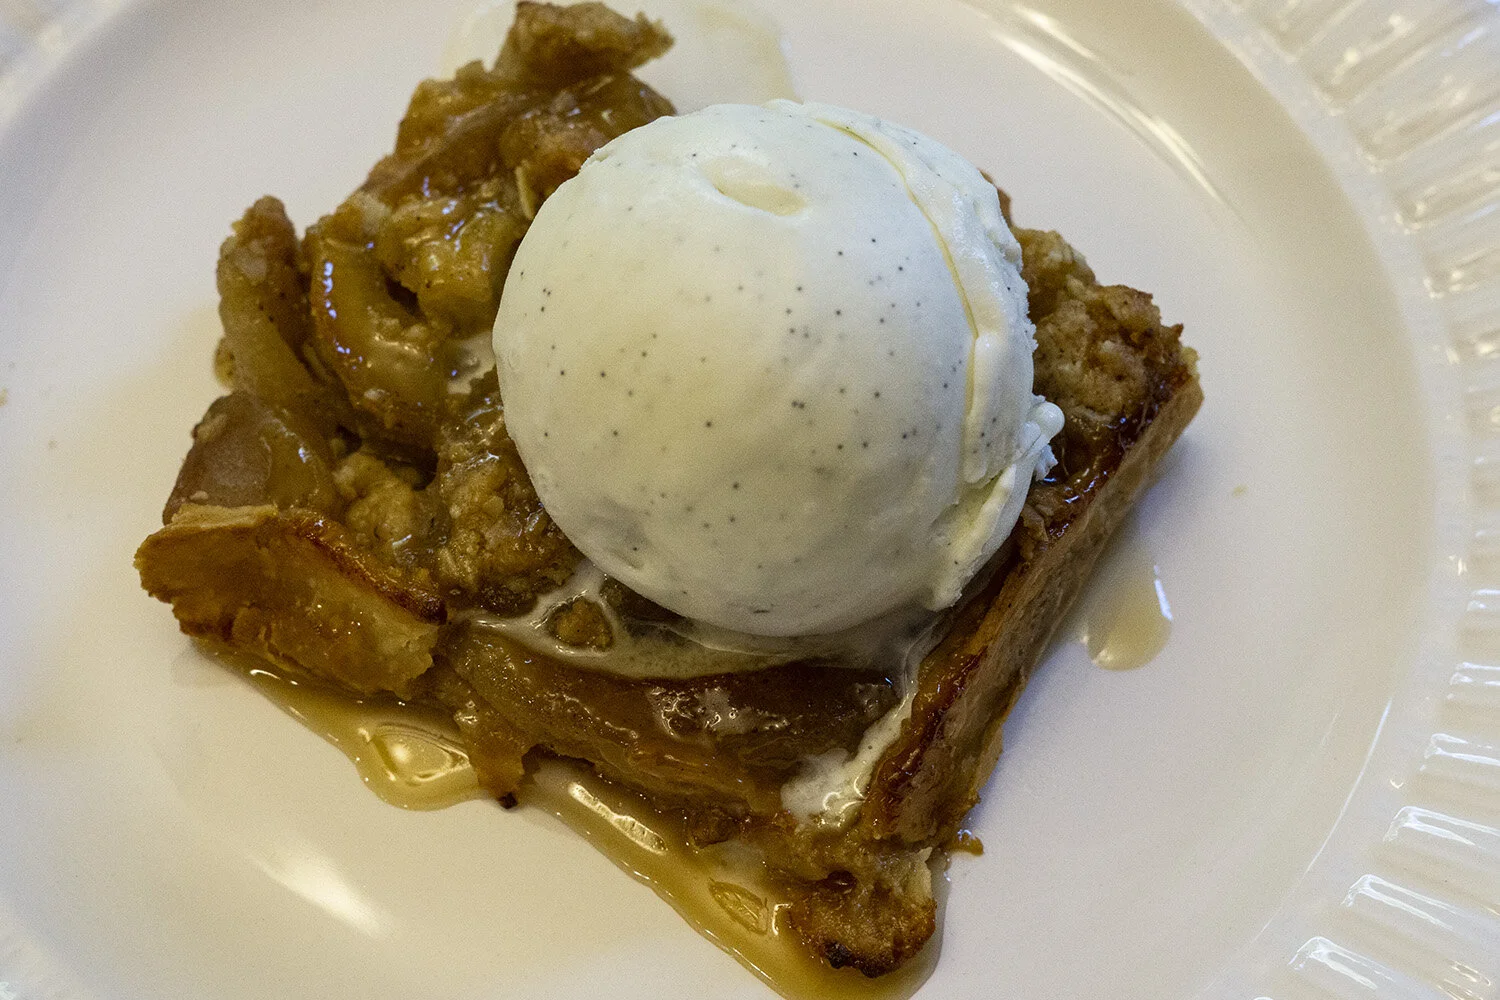
Drizzle with warm caramel and serve with a small scoop of ice cream. Your community will love the comfort of warm apples with spice, and the taste of homemade!
Apple Pie Squares
| INGRIDIENTS | STEPS |
|
Cream cheese filling:
Bars:
Streusel topping:
|
Day before baking
Day of baking
|


Leave a Reply
Want to join the discussion?Feel free to contribute!